The model is displayed in the graphical interface in twelve layers, namely
•St_Catchment_Watercourse_Tables,
•St_Conduit_Tables
•St_Pump_Tables
•St_Orifice_Tables
•St_Divider_Tables
•St_Outfall_Tables
•St_Weir_Tables
•St_Outlet_Tables
•St_Junction_Tables
•St_Storage_Tables
•St_Rainfall_Tables
•St_Catchment_Tables
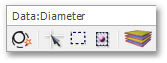
The theming of the model layers (which you cannot see yet because the model is empty) will be in accordance with the default theme that was specified in the settings, and is displayed in the theme window near the top left hand corner:
The theme is displayed in the GIS Layer Manager:
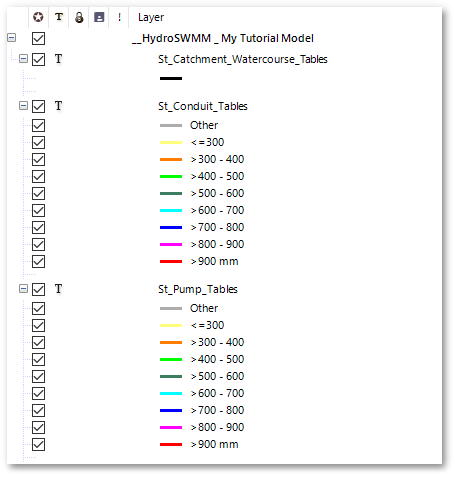
•To make the newly added Conduits more visible, click on the orange line to the left of ">300 - 400" and change the Line Width to 30m, followed by OK. Do the same for the 400/500/600 Items below it.
•To make the newly added Junctions more visible, click on the circle under St_Junction_Tables and change the Default Size to 150 (m), followed by OK. You can also try and increase the Horizontal and Vertical Offset of the text.
•Right-click on St_Conduit_Tables > Render Settings > Labels . Change that label text is drawn from the LCode field with a Text Height of 150 (m) in a red colour:
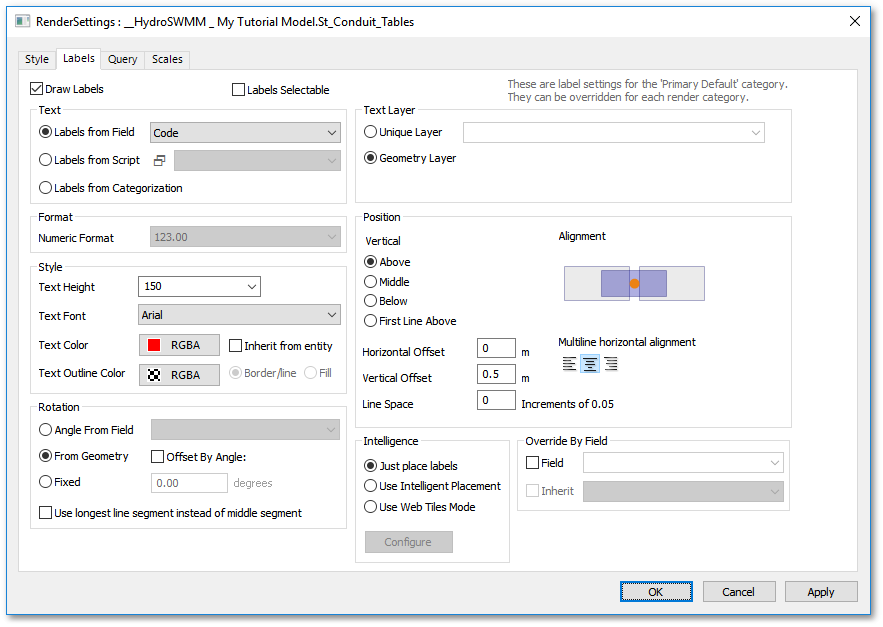
Note that the Labels Selectable checkbox is not ticked for the default styles applied for model themes. This setting assists the user in selecting model entities, especially with large text displays.
•Right-click on St_Junction_Tables > Render Settings > Labels. Change that label text is also drawn from the Code field with a Text Height of 200 (m) also in a red colour.